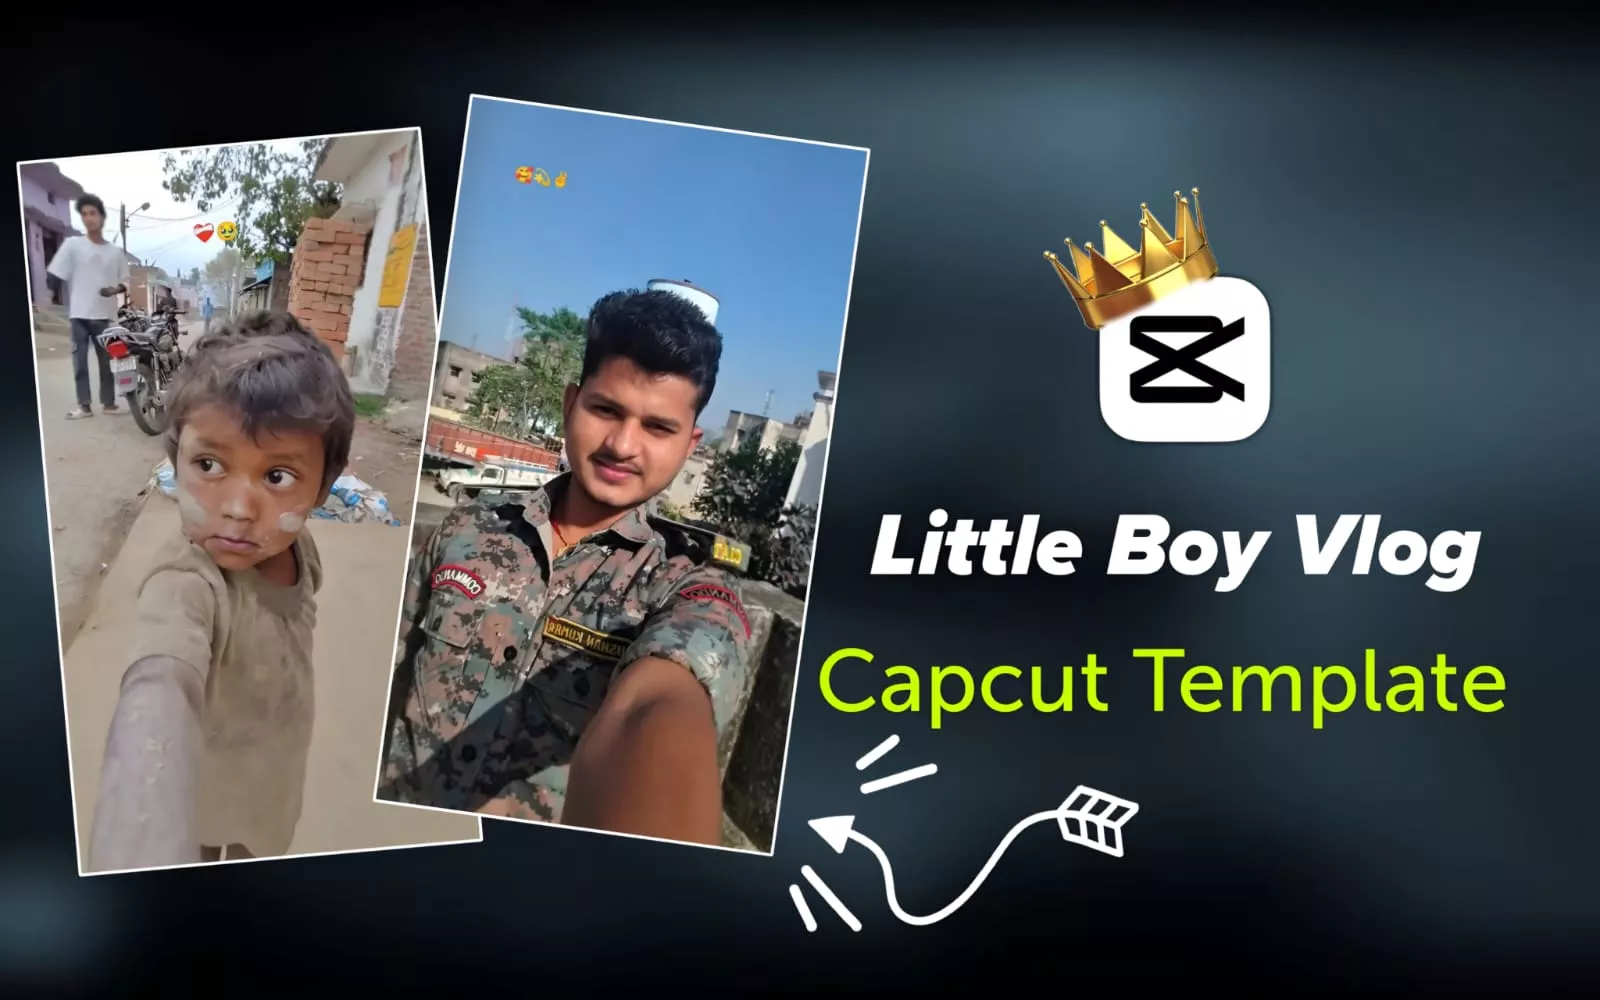
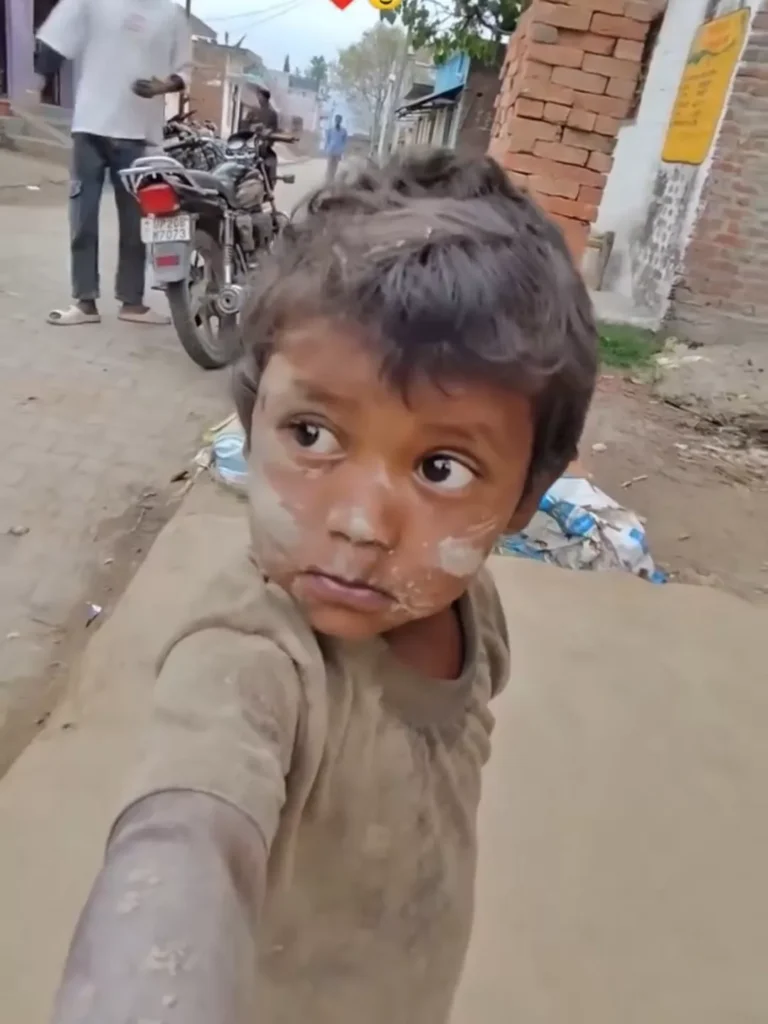
Little Boy Vlog Capcut Template – Friends, today I am going to share with you a trending template—one that carries a 100% chance of helping you go viral if you use it. Your page is bound to blow up, because the template I’m providing today is currently trending massively and has already garnered millions of likes. So, let’s find out exactly what this trend involves. It starts with a small child appearing on camera, looking quite disheveled while holding the device. Subsequently, the video is split, and you insert your own clips into the new section—much like how I’ve just added my own footage while holding a camera. This particular style is going incredibly viral these days. Now, if you were to attempt to recreate this manually from scratch, you would have to source and insert your own clips, and you wouldn’t be able to access that original introductory video. Therefore, the most efficient way to create this is by utilizing the template. Let’s dive in and see exactly how it’s done.
Template Features
Template Features: Let me tell you about the key features of this template. First and foremost, you get three smooth transitions that make your video look incredibly fluid and appear to be of true HD quality. Secondly, the template includes viral and aesthetic background music that plays continuously in the background. It also features a main audio track—specifically chosen for its viral potential—which significantly boosts the chances of your video clip going viral. The accompanying background music further enhances these chances. Additionally, the template comes with pre-applied color grading—a task that often proves incredibly difficult and time-consuming for creators. We have already handled the color grading for you, ensuring your video looks absolutely stunning and polished. As you have surely observed, videos with professional color grading are highly appealing to everyone, thereby further increasing the likelihood of your video going viral.
How To use Capcut Template
Now, let’s learn how to use the template. I will guide you through the process step-by-step. The first step is to connect to a VPN. If you do not connect to a VPN, you will be unable to create your video; this is because, as you may already know, CapCut has been banned in India, preventing you from using it within the country. Therefore, connecting to a VPN is absolutely essential. Once you have connected to a VPN, the second step begins: visit our website, open the relevant post, and scroll down to click the “Check Template” button. Clicking this button will redirect you to CapCut. This brings us to the third step: click the “Use Template” button. Upon clicking this, you will be prompted to select your video clips; select your clips, then click the “Next” button to generate your video. Once you complete these simple steps, your video will be ready—and it will look absolutely fantastic! Now, let’s learn how to export it. The fourth step involves exporting: you will find an “Export” button located in the corner of the screen; simply click on it, select “High Quality,” and proceed to export your video.
Conclusion
I hope you have understood everything I have explained so far. If anything remains unclear, I recommend reading through the article once; doing so should help you grasp the concepts fully. Furthermore, if you wish to export your video in HD quality, you can easily adjust the settings. You have the option to fine-tune the quality directly before clicking the ‘Export’ button. Finally, if you are interested in discovering various new and trending editing styles, I invite you to visit our website regularly, as I frequently share trending templates and BN editing tips on a daily basis.